A Beginner's Guide To Fly Tying
How to get started In fly tying
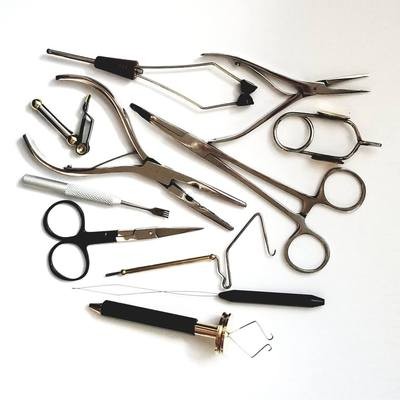
Six basic tools every desk needs to get the job done
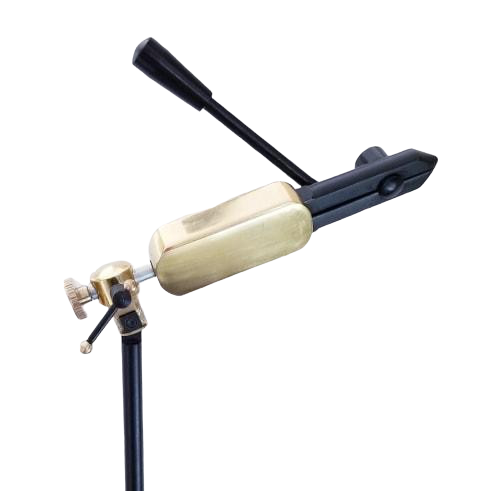
1. Fly Tying Vises
The function of a vise is both simple and critical to fly tying – it keeps the hook secured in a fixed position so that materials like feathers or dubbing can be tied-in with greater precision to form a more uniform fly. To use this tool, simply place the bent part of the hook shank between the vise jaws and tighten the vise so that the hook sits securely.
A good vise has quality components and craftsmanship and will put a solid grip on the hook. The best vises also can be adapted to hold a wide variety of hook sizes for different kinds of fly patterns.
2. Bobbin Holder
A bobbin is used for holding the thread spool and for wrapping thread around the hook shank to tie in materials that form the body of the fly. The benefits of using a bobbininclude enhanced control over the amount of tension applied when adding materials to the hook shank. When used effectively, a bobbin will help the fly tyer create a fly that is more durable and realistic in appearance.
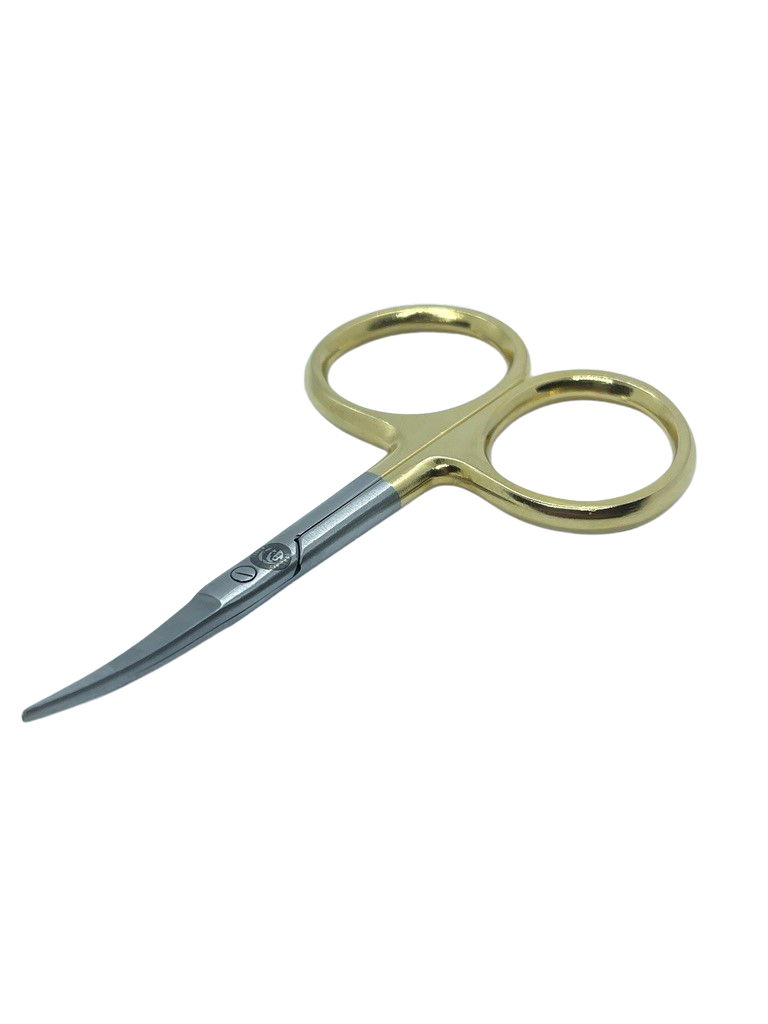
3. Scissors
Unlike your ordinary household scissors, the scissors used in fly tying are generally smaller and are razor sharp. Fly tying scissors are all about making cuts in closer corners where exactness is key. Depending on the types of materials you are cutting, you may want to have a curved scissor with thinner blades to get a cleaner cut.
These days, most fly tyers utilize at least two pairs of scissors while fly tying – one pair for precise cuts where the material is quite fine and soft (think hackle or nylon thread) and a household pair of scissors for course materials (like monofilament or dear hair).
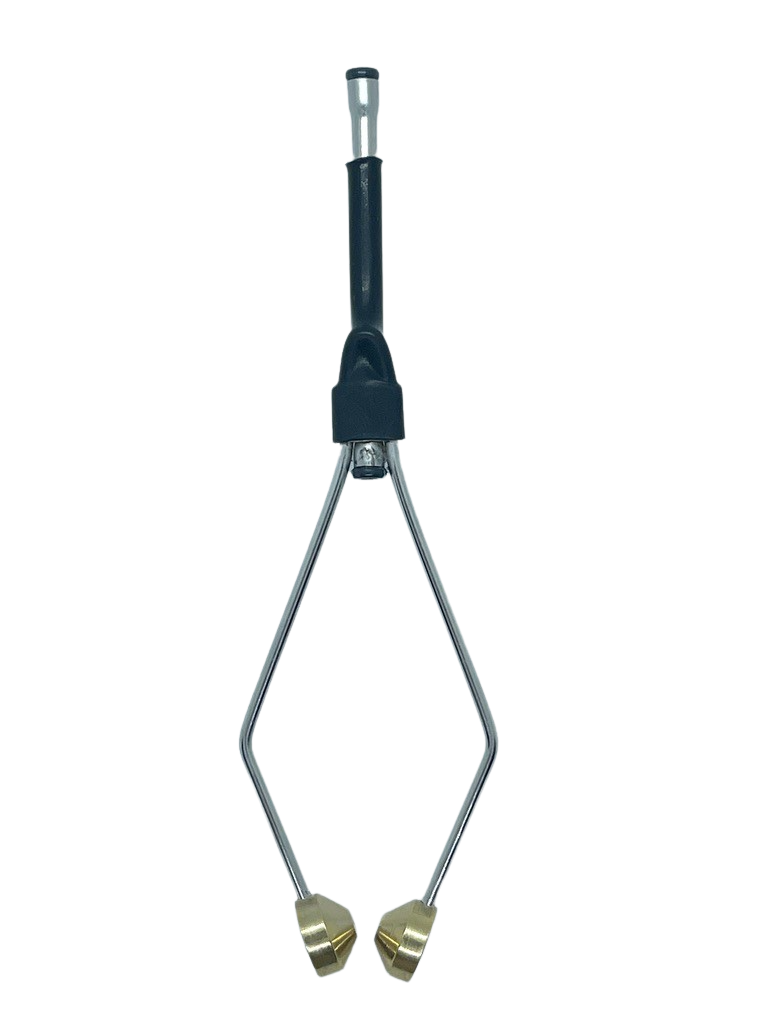
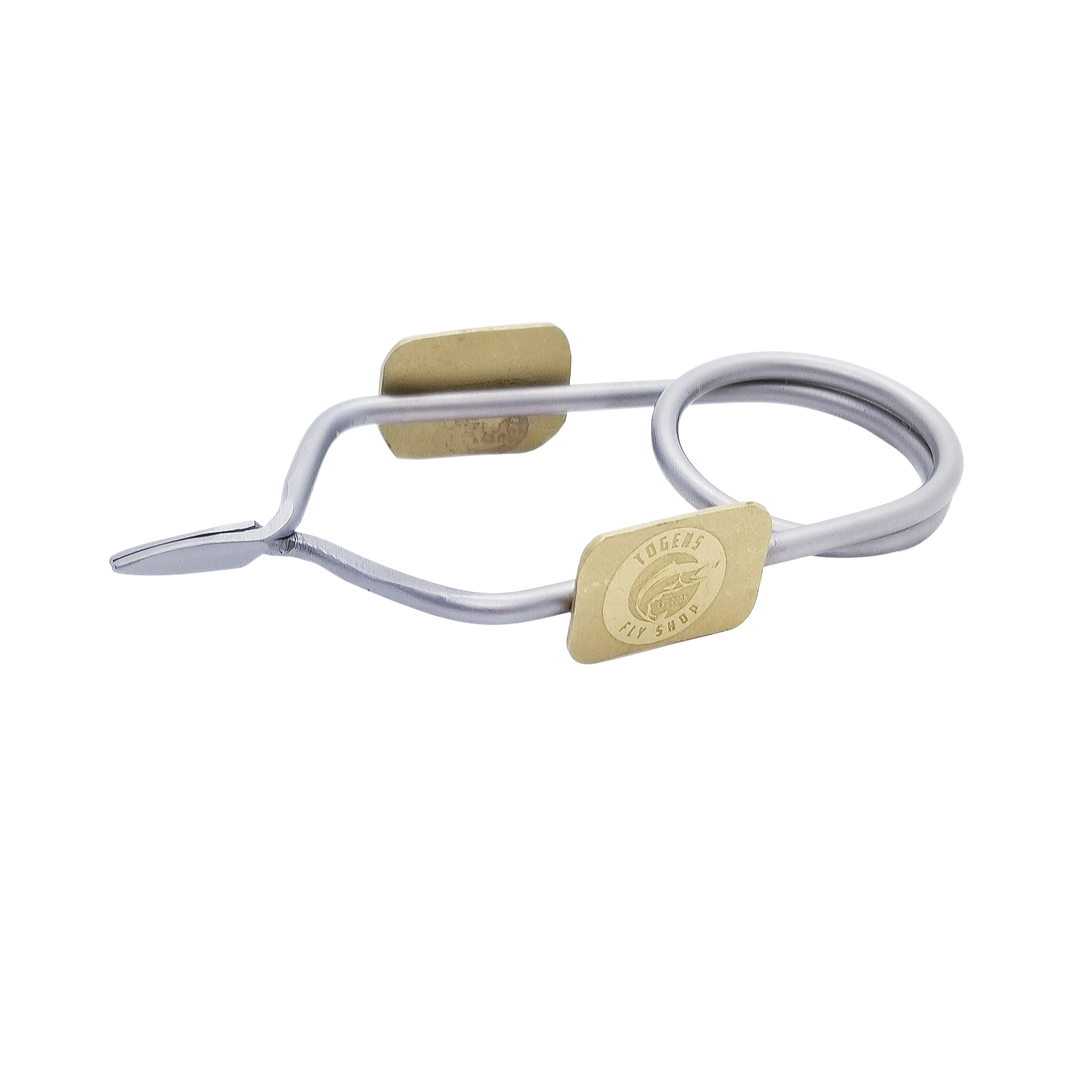
4. Hackle Pliers
Soft hackle is a delicate material and can prove challenging to wrap around a hook shank by hand. Enter the hackle pliers, which make working with hackle a piece of cake.
To use this tool, tie in your soft hackle near the base feather stock on to the body of the fly. Now, squeeze the sides of this tool to open the pliers and attach the pliers to the end of the hackle feather. Wrap the hackle around the hook shank as desired.
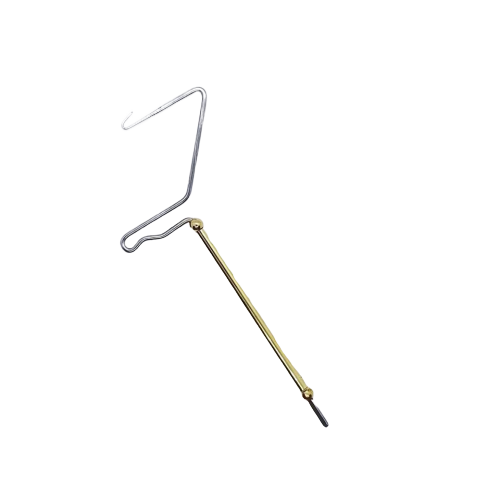
5. Whip Finisher
Before you complete a fly, you need a way to secure the thread to the head of the fly with a knot. The Whip Finish is the technique and the Whip Finisher is the tool used to accomplish this. Like many things in fly fishing, this technique takes a good bit of practice to master.
But! with the right tool, the knot is easy to learn.
6. Fly Tying Bead Mat
The purpose of a bead mat is quite simple, however, it is an essential part of any tyers arsenal. A bead mat is designed to lay under your vise while tying.The mat is made of a silicone material that will catch beads and hooks from rolling away.
Like many tyers experience, it is quite common to lose dozens of beads and hooks from rolling all over the place. The bead mat stops this, creating a clean and simple workspace when tying.
Imagine a simpler time, legendary fly angler, Lee Wulff, is standing on the bank of the Miramichi squinting on a mayfly hatch on a cold New Brunswick morning. As a healthy Atlantic Salmon rises on an unsuspecting mayfly, Mr. Wulff grins and decides it’s time to tie up a Royal Wulff the only way he knows how – by hand.
While the traditional method of tying flies by hand is inspiring, today we have a host of helpful tying tools that make the task much easier and adaptable to different applications – from tying the tiniest size 24 zebra midge to the monstrous eight-inch patterns designed for pike.
For over 15 years, Togens Fly Shop has created there own unique line of fly tying tools specifically designed for optimal performance and ease of use. The simplicity of Togens tools is what makes them unique. High-quality durable tools at a fraction of what big brands sell for.
Togens Fly Tying Bead Mat In Action
"Who knew something so very simple could be such a help at the tying bench! Have been working with the new hook and bead mat from Togens Fly Shop and it didn’t take long to realize that it’s now something I don’t think I’ll ever work without!
I have mine placed just below the vice and the little holes in the mat allow me to pour out a couple dozen hooks and a couple dozen beads at a time without having to chase them all over my tying desk like I had to in my pre hook & bead mat days. The mounting of the beads onto the hooks also becomes much easier with the hook & bead mat as I am now able to pick up the hook and scoop the bead right off the mat out of the little holes that are supporting it, then place the hook back down and move onto the next one never losing another hook or bead to the floor again!"
- Video review by Bcflyguys


