Learn To Tie: ULTRA BUZZER
Tying tutorial by pro-team member Taylor Culver
Pattern Description:
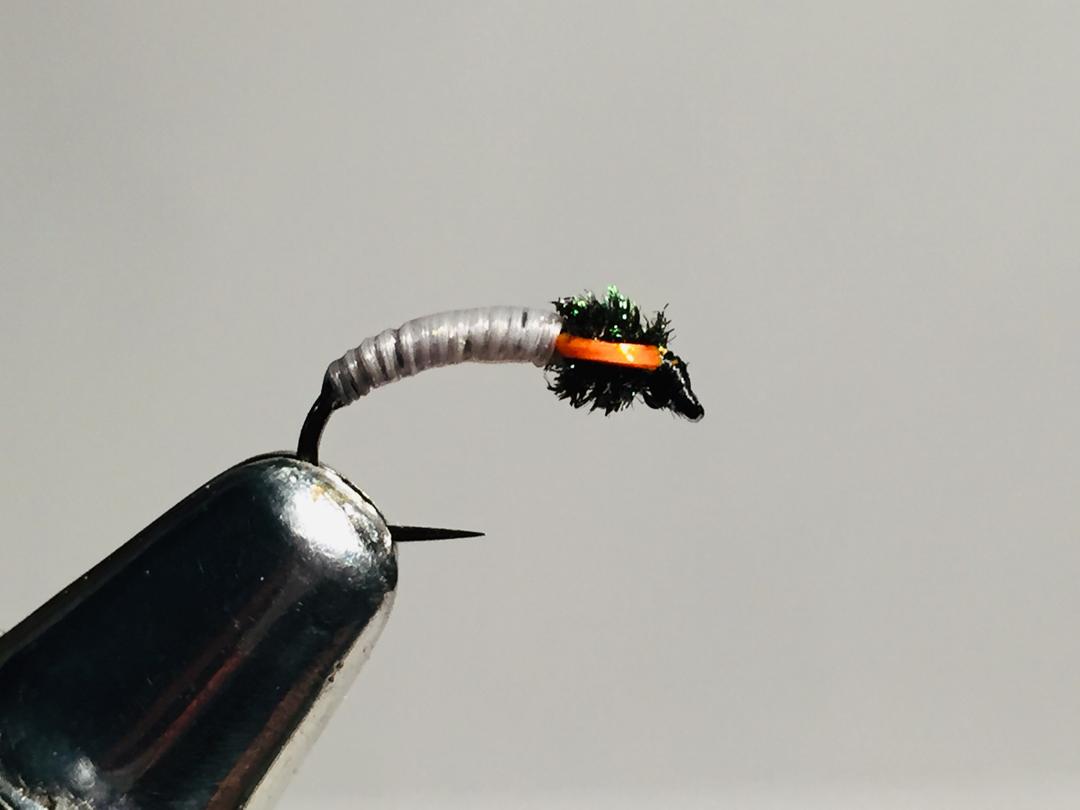
The ultra buzzer is one of a thousand ways to tie a buzzer pattern, but it is simple, effective and ultra durable. Originating in the UK, the buzzer (chironomid imitation) is an onomatopoeia to describe the larger chironomids that anglers would hear as they emerged by the thousands.
This pattern proves to be just as effective on our local ponds as it is over-seas and it uses the same foundational techniques used for tying most buzzer patterns. Follow through this tutorial for insightful tips that will save you time and energy.
I use Togens ultra stretch material as it is very durable and makes tying effortless. The addition of the natural peacock herl has subtle movement and holds colours, in my opinion, better than synthetics. There is an endless amount of variations to this pattern, and they all get the job done. This is my personal favourite style of buzzer as it makes for less time on the bench and more time on the water!
Materials Needed:
Hook: Togens sz 12 scud
Thread: Danville 6/0 waxed thread, black
Body: Togens Ultra Stretch, grey
Thorax: Peacock herl
Wingbuds: Togens Stretch, rootbeer
Step 8
Carefully wrap the peacock herl up to the eye of the hook, tie off and trim excess. Be careful with natural peacock herl as it is very fragile and will break if too much tension is used. Again, put a half hitch to prevent the peacock herl from unraveling if your bobbin slips off the eye. As you have now trimmed your peacock herl, if it slips it will be extremely difficult to save as you have lost the excess length.
Step 9
Hold the rootbeer ultra stretch material from the middle of your loop and pull towards the eye. Carefully secure the ultra stretch with one or two over-and-under wraps (wrapping the thread “over and under” the stretch material to secure). Again, this should be followed by a half hitch for the same purpose as before. Trim excess.


